Sticky Situations
In Sticky Situations, F. Ball’s technical service department provide solutions to tricky flooring conundrums they encounter on site visits.
In this issue, Phil Nightingale relays advice on subfloor preparation before installing floorcoverings at a secondary school and college.
Flooring contractors installing floorcoverings as part of a refurbishment, especially in older buildings, may find a number of challenges that you would be less likely to encounter in new-build settings, including contending with subfloors in a poor condition. Amongst these are sand/cement or calcium sulphate screeds with a weak or friable surface – often the result of improper installation or curing techniques. Fortunately, if we have the chance to inspect these, we can often recommend subfloor preparation steps to avoid the need to completely remove and replace them, saving considerable time and expense.
This was the case when we recently attended a school in Leicestershire to advise on installing floorcoverings in two ground-floor classrooms.
Site Assessment
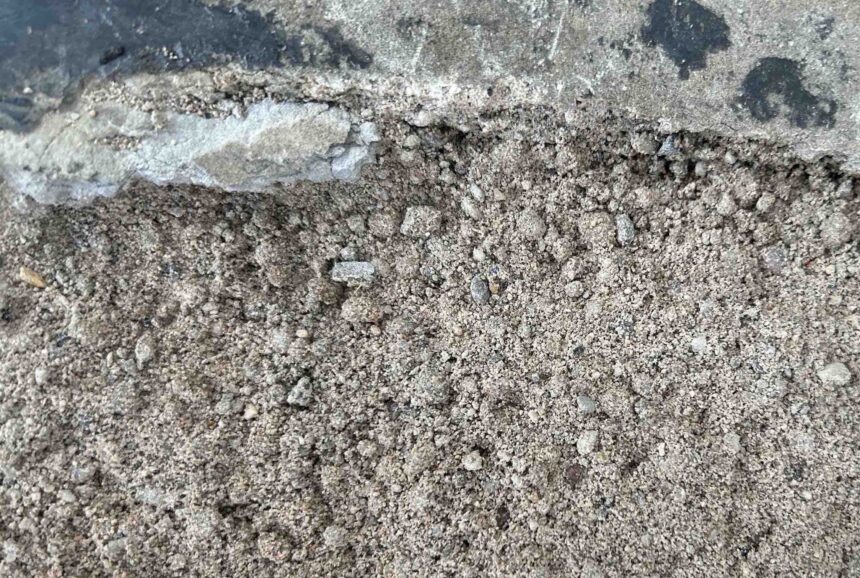
The first room was in the original building, which predates 1965, where old 9” x 9” thermoplastic vinyl tiles had been removed, leaving most of the old black bitumen adhesive behind. However, where the adhesive had lifted it revealed the sand/cement screed subfloor had broken up in places and appeared to be weak and friable.
Moisture tests undertaken using a digital hygrometer indicated that subfloor relative humidity levels were 92% in this area. In accordance with BS8203 Code of practice for installation of resilient floor coverings, floorcoverings should not be installed where a moisture test gives a relative humidity reading of more than 75% without a moisture management solution in place. The original building is unlikely to have a structural damp-proof membrane within the subfloor given its age – regulations making this a legal requirement in new buildings were introduced in 1965.
The second room was a more modern extension that looked to be from around the 1980s. The concrete subfloor was covered with glazed quarry tiles, which appeared to be well bonded. Two gullies were to be filled with a rapid-drying proprietary screed. A moisture test indicated that subfloor relative humidity levels were 57%, below the threshold for the requirement of a moisture management solution.
First Steps for Subfloor Preparation
Based on this, we recommended the following steps for subfloor preparation.
In the original part of the building, it was advised to repair the screed where necessary, and then use Stopgap SRS (Surface Reinforcement System) to consolidate the remaining weaker sections before applying a smoothing compound.
This should involve removing loose parts of the screed and vacuuming to remove dust and debris. Where this left deeper craters, these could be filled with Stopgap 460 rapid repair mortar.
F. Ball’s Stopgap SRS (Surface Reinforcement System) could then be used to consolidate the remaining weaker sections of screed. The two-component epoxy resin reinforcement material is designed to quickly stabilise and reinforce weak sand/cement. Contractors simply mix the components thoroughly, pour the mixture over the weak subfloor and spread out with a rubber squeegee, working into the surface until no more liquid is absorbed and leave to cure overnight.
Final Subfloor Preparations
A minimum 3mm thickness of Stopgap 1200 floor smoothing compound should then be applied to create a perfectly smooth base. Both Stopgap 460 and Stopgap 1200 are moisture tolerant, so they won’t be affected by excess subfloor moisture.
It was then recommended that Stopgap Isolator Membrane was fitted to create a moisture barrier between the subfloor and new floorcoverings being installed as part of a loose-lay flooring installation to minimise stresses on the subfloor. The sheet has nodules on the underside, creating an airspace to allow water vapour to travel to the edge of a room, into a dry wall or ventilated area, where it can safely escape. Floorcoverings would need to be installed using F. Ball’s Styccobond F47 pressure sensitive adhesive for use with Stopgap Isolator Membrane.
Straightforward Solution
In the newer part of the building, a fully bonded installation was possible.
It was first necessary to clean tiles with Styccoclean C140 floor cleaner before rinsing thoroughly with water, removing any excess water by wet vacuuming and allowing to dry. This process should be repeated if necessary to ensure no Styccoclean C140 residue remained.
F. Ball’s Stopgap 1200 could then be applied at a minimum thickness of 3mm and allowed to cure to create a perfectly smooth base for the installation of floorcoverings using an adhesive listed as compatible in F. Ball’s Recommended Adhesives Guide (RAG®).
F. Ball’s regional technical representatives provide advice to flooring contractors on how to get the most out of F. Ball products, including conducting site visits and producing case-specific reports advising on the best course of action for particular flooring projects. Find out who your technical representative is here.