F. Ball technical service officer Jason Tatton on having the best of both worlds when choosing adhesives for carpet installations.
When installing carpet over large areas that will be subject to heavy...
The steps to achieving a professional flooring finish outdoors, including installing artificial grass, are much the same as when working indoors. Apart from involving floorcoverings that aren’t typically...
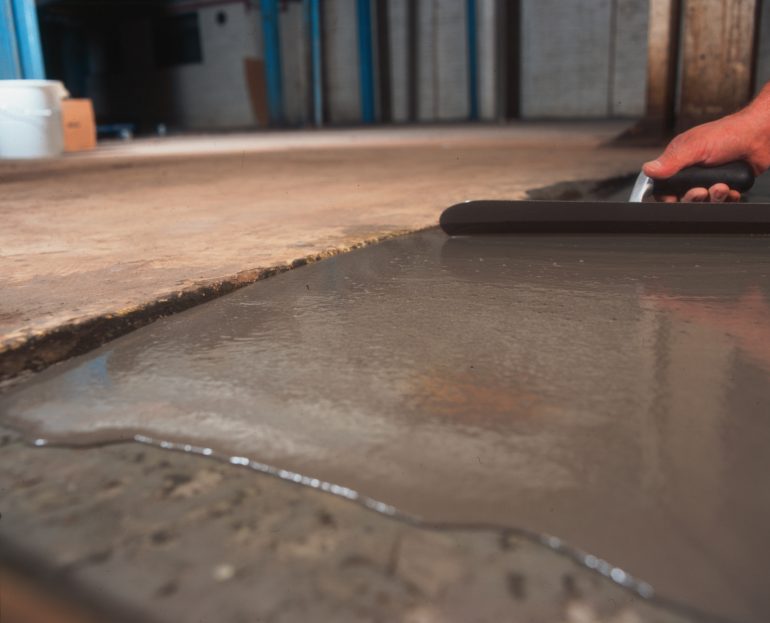
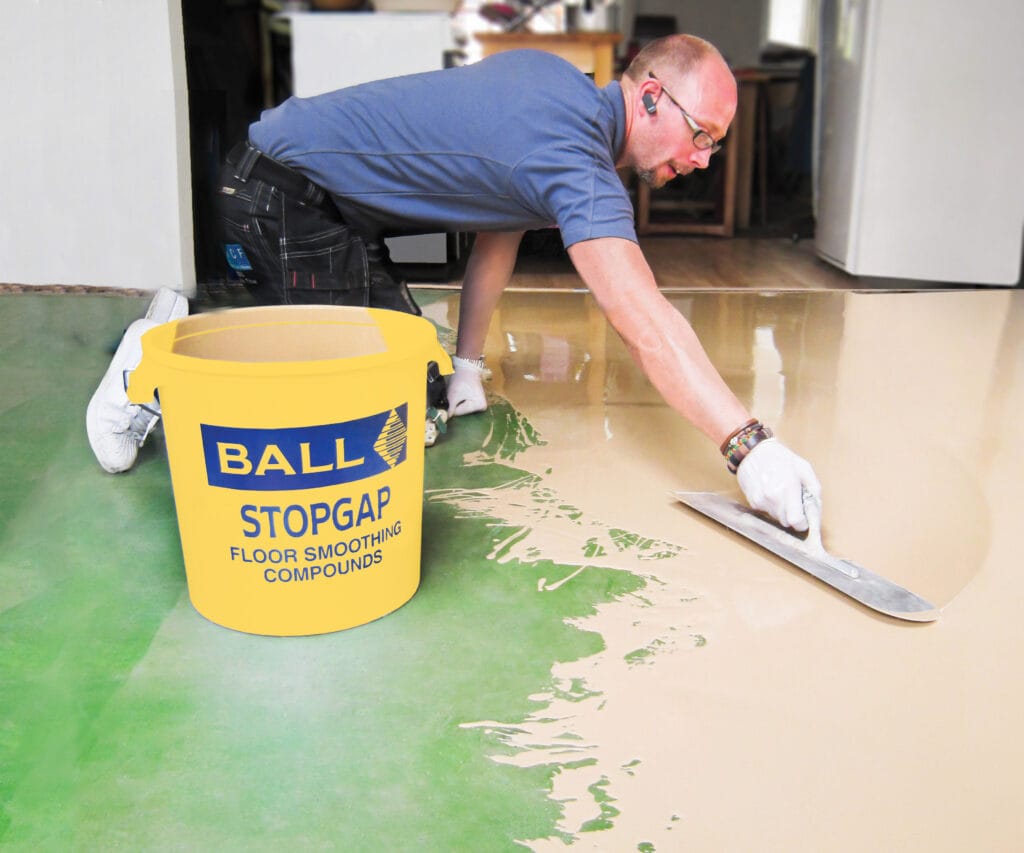
When raising the level of subfloors, only smoothing compounds especially formulated for this purpose are up to the task.
Sometimes, flooring contractors need to raise the level of a subfloor before new...
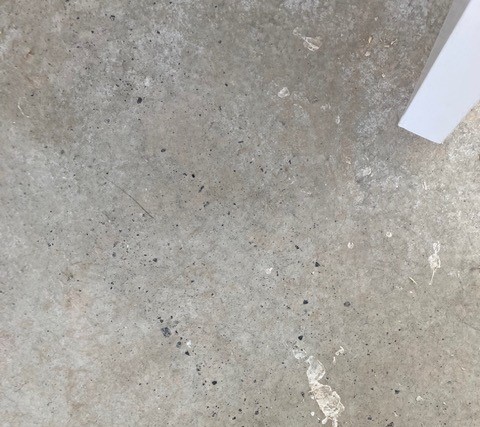
In this article, F. Ball technical representative Gary Kenworthy, provides a solution for dealing with the relatively uncommon problem of lignite.
While undertaking a site visit to advise on subfloor...
In a focus on floors feature, Stephen Boulton, F. Ball’s technical service manager, explains why a floor smoothing compound is designed to work at a minimum thickness and what can typically go wrong...
F. Ball technical service officer Chris McQuade advises on installing floorcoverings where underfloor heating is present.
Flooring installations where underfloor heating is present are frequently a source...
This website uses cookies so that we can provide you with the best user experience possible. Cookie information is stored in your browser and performs functions such as recognising you when you return to our website and helping our team to understand which sections of the website you find most interesting and useful.
Strictly Necessary Cookies
Strictly Necessary Cookie should be enabled at all times so that we can save your preferences for cookie settings.
If you disable this cookie, we will not be able to save your preferences. This means that every time you visit this website you will need to enable or disable cookies again.
3rd Party Cookies
This website uses Google Analytics to collect anonymous information such as the number of visitors to the site, and the most popular pages.
Keeping this cookie enabled helps us to improve our website.
Please enable Strictly Necessary Cookies first so that we can save your preferences!