Subfloor preparation for LVTs
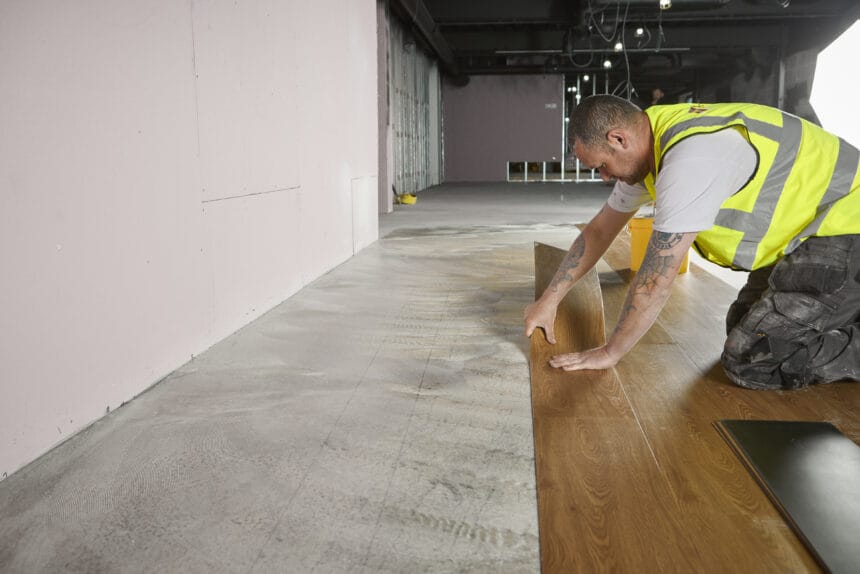
A long-lasting, visually attractive finish with LVTs requires proper subfloor preparation before any floorcoverings are installed. Stephen Boulton, technical service manager at F. Ball, talks through the steps involved, including taking precautions to avoid common causes of floor failure.
The first step in any floorcovering installation should be to check that the subfloor, the structural foundation for your flooring, is suitably sound, smooth and dry. Any laitance (the crust of fine particles formed on the surface of a screed as it dries) and contaminants should be mechanically removed before proceeding with a flooring installation, otherwise you risk compromising the ability of subsequently applied subfloor preparation products to bond effectively with the subfloor.
Guarding against damp
Whether the result of rising damp or residual construction moisture, unmanaged subfloor moisture can attack adhesives and floorcoverings and lead to tenting or gapping in LVTs. It is still, by far, the leading cause of floor failure.
Therefore, a moisture test, using a calibrated digital hygrometer, should be conducted to determine subfloor relative humidity (RH) levels as part of any flooring installation. Where relative humidity (RH) levels are higher than 75% and resilient floorcoverings will be installed, a moisture management solution will be required.
F. Ball recommends the application of a liquid waterproof surface membrane system to create a barrier to prevent excess subfloor moisture. Such products are available that will isolate excess subfloor moisture where relative humidity values are up to 98%, with a single coat application, and fully cure in as little as three hours.
Prime Importance
Once satisfied that the subfloor is sound, smooth and dry, or an appropriate moisture management solution is in place, the application of an appropriate floor smoothing compound (normally at a thickness of 2-3 mm) will create a uniform, smooth surface over which the LVT can be installed.
In most cases it will be essential to prime a surface beforehand. This promotes the optimum performance characteristics of the smoothing compound and, when used over absorbent subfloors, such as concrete, prevents moisture being drawn from the smoothing compound, which can cause it to dry too quickly and result in floor failure.
Priming also prevents ‘pinholing’: small holes in the smoothing compound that have the appearance of pinholes or blisters caused by the slow escape of air from absorbent surfaces as the smoothing compound cures.
Creating a base
Finally, contractors should take time to ensure that they select the optimum smoothing compound for a particular situation.
The application of a heavy-duty smoothing compound with high compressive strength and excellent self-smoothing properties is recommended to create the perfect base for the installation of LVTs, particularly where floors will be subject to heavy loads or high foot traffic.
When working over subfloors of plywood or steel, the application of a fibre-reinforced smoothing compound is advised. Such products are better able to accommodate movements in these kinds of subfloor.
When contractors are working to tight timescales, fast-drying smoothing compounds are available that are walk-on hard from just 30 minutes and ready to receive floorcoverings in as little as 45 minutes after application.
Where an LVT installation is part of a refurbishment and old adhesive residues are present after the removal of old floorcoverings, specialist smoothing compounds, such as Stopgap 1200, are available that can be applied directly over old adhesive residues, without the need to prime beforehand, removing the need for mechanical preparation. This saves valuable time without compromising on the finish.